
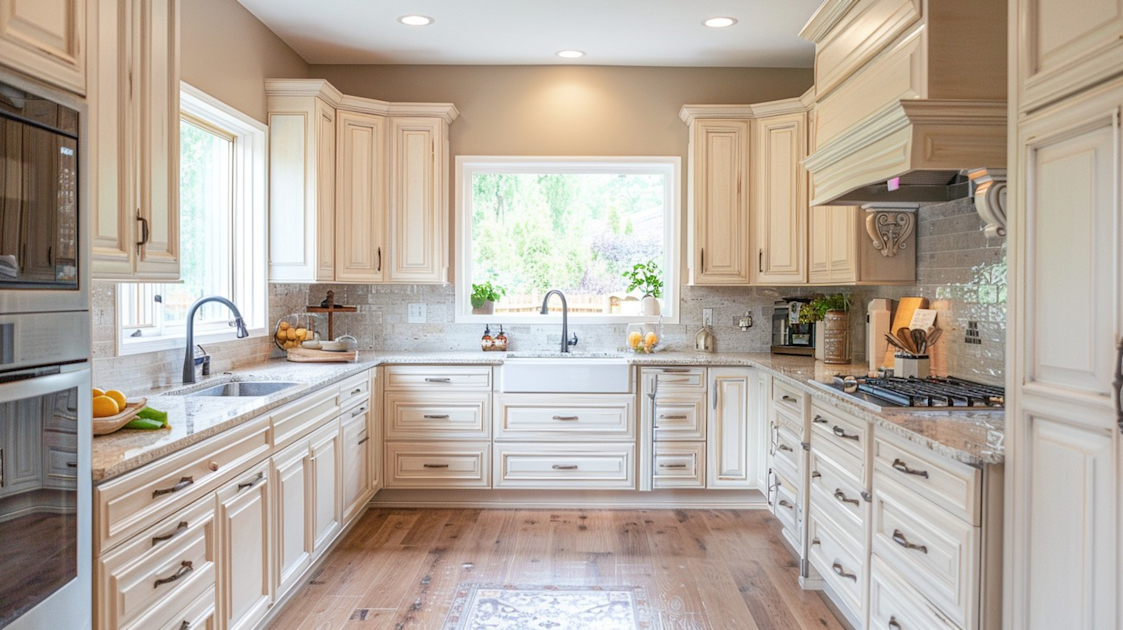


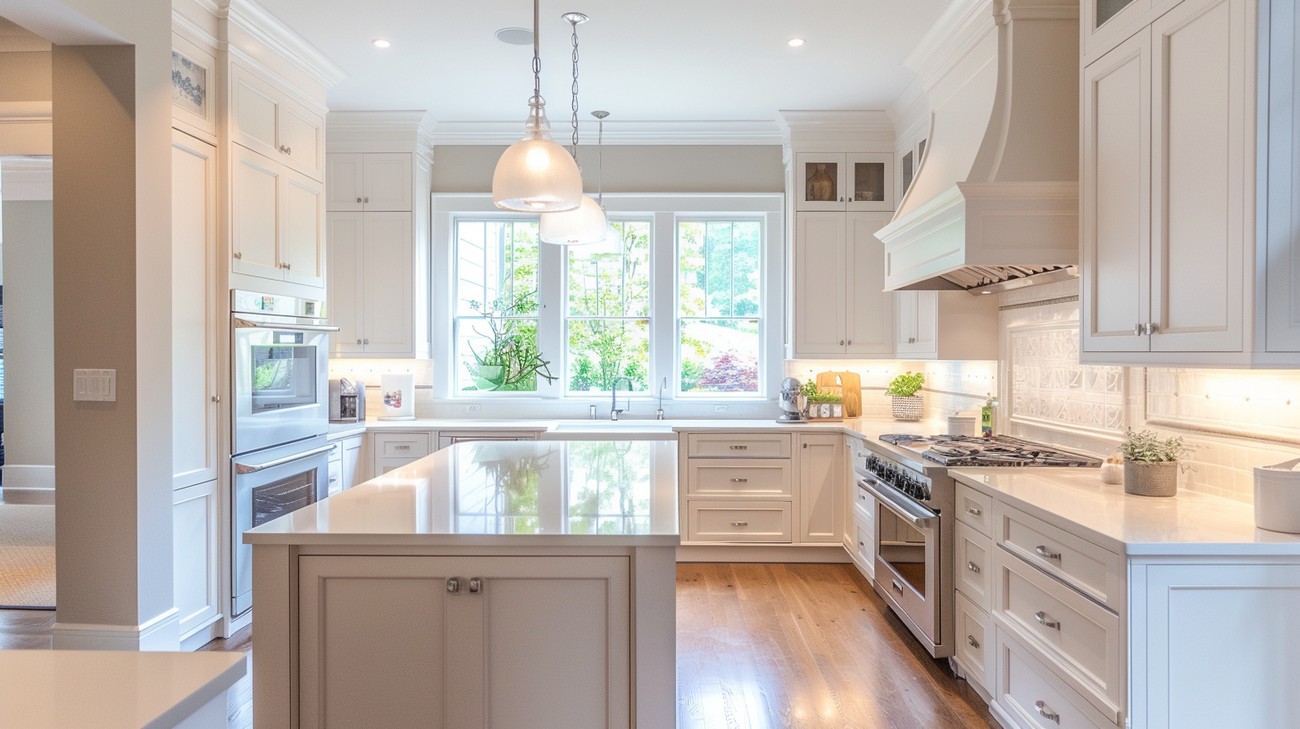
Refinishing your kitchen cabinets can breathe new life into your space, making it feel fresh and updated without the financial burden of a full renovation. Whether you're a seasoned DIY enthusiast or tackling this project for the first time, this guide will walk you through every step of the process.
Why Refinish Kitchen Cabinets?
Refinishing your kitchen cabinets is an affordable way to upgrade your kitchen's aesthetics. It allows you to customize your cabinets to match your style preferences, while also enhancing the overall value of your home. Other benefits include:
- Cost-effectiveness: Refinishing is generally cheaper than replacing your cabinets entirely.
- Sustainability: Refinishing is environmentally friendly as it reduces waste.
- Customizability: Endless options for paint, stain, and hardware allow for a personalized touch.
Preparation is Key
Before diving into the refinishing process, it's crucial to prepare adequately. Taking the time to prepare your workspace can save you from headaches later on.
Gather Your Materials
Having the right materials at hand is crucial for a smooth project. Here’s a list of essentials you’ll need:
- Screwdriver and drill
- Sandpaper or sanding block
- Degreaser or mild detergent
- Paint stripper (if removing old finish)
- Wood filler
- Primer, paint, or wood stain
- Paintbrushes and rollers
- Drop cloths or plastic covers
- Safety gear: gloves, mask, and goggles
Prepare the Work Area
Ensure your work area is prepared before beginning. This includes:
- Clearing and cleaning the space to avoid dust and debris interference.
- Emptying the cabinets and removing all items.
- Covering countertops, appliances, and floors with protective sheets to prevent spills or damage.
Removing and Labeling Doors and Drawers
Begin by removing all cabinet doors and drawers. This not only makes the job easier but also ensures more even coverage. Here’s how to proceed:
- Use a screwdriver to remove hinges and handles. Keep all hardware in labeled bags for easier reassembly.
- Number each door and drawer, and its corresponding cabinet space. A simple numbering system will help avoid confusion later.
Cleaning and Sanding
Deep Cleaning
A thorough clean is necessary before applying any new finish. Here’s a step-by-step process:
- Degrease: Use a mixture of warm water and a degreaser to clean the cabinet surfaces, removing all grease and grime. This step is crucial for paint adherence.
- Rinse: Wipe down with a clean, damp cloth to remove any residue.
Sanding
Sanding is an essential step that shouldn't be skipped. It helps the new finish adhere better by roughening up the surface.
- Start with a coarse sandpaper (around 100-grit), then move on to a finer grit (220-grit) for a smooth finish.
- Pay special attention to crevices and detailed areas. For intricate designs, use a sanding sponge or a detail sander.
- Once sanding is complete, wipe down all surfaces with a tack cloth to remove dust.
Choosing Your Finish
Now comes the fun part — selecting your new finish! There are several options to consider:
Painting
- Versatility and Color: Paint allows for the greatest range of color and style options.
- Application: Apply a coat of primer first, then follow up with two coats of quality cabinet paint, allowing adequate drying time between coats.
Staining
- Natural Aesthetic: Staining preserves the wood grain, providing a traditional or rustic appeal.
- Application: Apply wood conditioner for even stain absorption, then follow with one or two coats of stain.
Application Technique
When applying your chosen finish, use the right tools for the best results. A combination of brushes and rollers often works well:
- Brushes: Ideal for edges and details.
- Rollers: Helpful for large, flat surfaces. Use a small foam roller for an even finish.
Sealing the Deal
Once you've applied the paint or stain, finish off by adding a protective sealant. This step will:
- Enhance Durability: Protects against scratches and stains.
- Provide a Polished Look: Offers a professional finish.
Use a polyurethane coating for a glossy, durable veneer or a water-based sealant for a matte finish.
Reassembly
After allowing sufficient drying and curing time, start reattaching the doors and drawers. Make sure:
- Hinges and handles are securely attached.
- Doors are adjusted to hang evenly.
Final Touches
With everything back in place, it's time to add your unique touches. Consider these finishing embellishments:
- Hardware: Replace old knobs and pulls with modern hardware to complement the new look.
- Soft-Close Features: Install soft-close hinges for quieter cabinet operation.
FAQ About Refinishing Kitchen Cabinets
How do I know if my kitchen cabinets need refinishing?
If you notice that the finish on your kitchen cabinets is wearing thin, chipping, or peeling, it's probably time to consider refinishing them. Other tell-tale signs include visible water stains, scuffs, and scratches or a tired, outdated color that makes your kitchen look less inviting. Refinishing kitchen cabinets can breathe new life into your space, making it bright and fresh again without the need for a full remodel.
What materials do I need to refinish my kitchen cabinets?
To refinish kitchen cabinets, you'll need a few essential materials: sandpaper or a sanding block, primer, paint or stain, a paintbrush or roller, and protective gear like gloves and a dust mask. Don’t forget to purchase wood filler for any nicks or scratches and to have a clean, lint-free cloth on hand for dusting. It's also wise to use a deglosser or a wood cleaner to prepare the surface. Investing in high-quality materials will ensure a professional-looking finish.
Should I refinish my kitchen cabinets myself or hire a professional?
Deciding whether to DIY or hire a professional for refinishing kitchen cabinets depends on your skill level, budget, and time. If you're confident in your DIY skills, doing it yourself can save money and be a rewarding project. However, if you're looking for a flawless finish or have custom cabinets made from high-end materials, hiring a professional might be the best route. Professionals bring expertise, ensuring the project is done efficiently and with premium results.
How long does it take to refinish kitchen cabinets?
The time required to refinish kitchen cabinets can vary greatly depending on the size of your kitchen, the condition of the cabinets, and whether you’re working alone or with assistance. On average, a DIY project might take anywhere from a weekend to several weeks, particularly if you work only during the weekends. Hiring a professional can streamline the process, often completing the project in about a week or less. Always factor in drying times for paint or stain between coats.
Can I refinish cabinets without sanding?
Yes, you can refinish kitchen cabinets without sanding by using a liquid deglosser or a chemical stripper. These products help to create a rough surface that primer and paint can adhere to without the dust and physical exertion associated with sanding. While sanding gives more control over how much finish is removed, deglossers are a time-saving alternative when dealing with lightly-worn cabinetry.
What type of paint should I use for refinishing kitchen cabinets?
For refinishing kitchen cabinets, choose a durable and high-quality paint. Acrylic latex-based paint is popular due to its quick-drying properties and ease of cleanup. For a more durable, longer-lasting finish, consider using oil-based paints, although they can be more challenging to work with and require longer drying times. Chalk paints and milk paints are trendy alternatives offering a vintage look but usually require a topcoat for protection.
How can I ensure a smooth finish when refinishing kitchen cabinets?
Achieving a smooth finish when refinishing kitchen cabinets starts with proper preparation. Clean all surfaces thoroughly to remove grease and dust, and sand the cabinets to an even surface. Use a high-quality brush or roller and apply thin coats of primer and paint to prevent drips. Let each layer dry fully before applying the next. For the smoothest finish, lightly sand between coats with fine-grit sandpaper and use a high-opacity paint to cover any imperfections.
Should I remove cabinet doors before refinishing?
Taking the time to remove the cabinet doors before refinishing will often yield better results. Removing the doors makes it easier to apply a consistent finish without missing any spots or painting over hardware. Label each door and its corresponding place to simplify reinstallation later. This step not only facilitates an even paint job but also allows you to work on a flat surface, reducing the risk of drips or runs in the paint.
Is refinishing kitchen cabinets an environmentally friendly option?
Refinishing kitchen cabinets is an environmentally friendly choice as it reuses existing materials and reduces the waste typically associated with kitchen renovations. By opting to refinish instead of replace, you save trees and decrease landfill contributions. Choosing zero VOC (Volatile Organic Compounds) paints and non-toxic strippers can further enhance the environmental benefits, making your kitchen upgrade as green as possible.
How do I maintain my refinished kitchen cabinets?
Maintaining your newly refinished kitchen cabinets helps extend the life of the updated look. Regularly dust and clean the cabinets with a gentle cleanser like diluted dish soap. Avoid using abrasive sponges or highly acidic cleaners that could damage the finish. Consider applying a protective topcoat for added durability and periodically inspect your cabinets for any nicks or scratches that might need touching up to maintain their fresh appearance.
Step-by-Step Guide
Tools/Materials Needed
- Screwdriver
- Sander or sanding block
- Sandpaper (120, 220, and 320 grit)
- Wood cleaner or degreaser
- Tack cloth
- Painter's tape
- Drop cloths
- Paint brushes and foam rollers
- High-quality primer
- Cabinet paint or wood stain
- Clear topcoat (polyurethane or polycrylic)
- Paint stirrer
- Protective gear (goggles, mask, gloves)
Preparation Steps
Clear and Clean the Area: Start by removing all items from your kitchen cabinets. Place drop cloths on the floors and countertops to catch dust and paint.
Remove Cabinet Doors and Hardware: Use a screwdriver to remove cabinet doors and their hardware, including hinges and knobs. Label each door and its corresponding hardware to remember where they go later.
Clean Surfaces: Using a wood cleaner or degreaser, thoroughly clean all surfaces of the cabinets to remove grease and grime, ensuring the new finish will adhere properly.
Repair and Sand: Repair any dents, scratches, or holes with wood filler, then sand the surfaces with 120-grit sandpaper to remove the existing finish. Follow this with 220-grit for a smoother finish.
Prepare for Painting: Wipe all surfaces with a tack cloth to remove dust. Use painter's tape to protect areas you don’t want to paint, such as adjacent walls or your backsplash.
Detailed Instructions
Prime the Surfaces: Using a paintbrush and foam roller, apply a high-quality primer to all cabinet surfaces. Don't rush; allow the primer to dry completely as per the manufacturer's instructions, usually a few hours.
Sand the Primed Surface: Lightly sand the primed surface with 320-grit sandpaper for a smooth finish. Wipe away the dust with a tack cloth.
Apply Cabinet Finish: Now for the fun part! Use a paintbrush for detailed areas and a foam roller for flat surfaces. Apply your chosen paint or stain evenly. For paint, two coats might be necessary. If staining, follow with a sealant after the stain dries.
Re-sand Between Coats: If applying multiple coats of paint, lightly sand with 320-grit sandpaper between coats for a flawless finish. Wipe away all dust again before applying the next coat.
Seal the Finish: Once the paint or stain is dry, apply a clear topcoat. Use a clean brush or foam roller, and let it dry completely. This will protect your work and ensure longevity.
Reassemble the Cabinets: Carefully reattach the cabinet doors and hardware. Refer to your labels to easily reassemble everything in the correct place.
Tips for Success
Choose the Right Paint/Stain: For kitchens, select a paint that is durable and easy to clean, such as semi-gloss or gloss. For stain, ensure it's compatible with your wood type.
Work in a Well-Ventilated Area: Ensure proper ventilation by opening windows or using a fan. This helps in drying and reduces inhalation of fumes.
Test First: Always apply a test patch of your chosen color or stain in an inconspicuous area to ensure you’re happy with the finish.
What to Do If Something Goes Wrong
- Uneven Finish: If you notice brush strokes or unevenness, lightly sand the area and apply another coat. Patience is key.
- Peeling Paint: This often results from inadequate cleaning or priming. Sand the affected area, prime it, and repaint.
- Sticky Drawers/Doors: Ensure that the paint is fully dry before rehanging. If problems persist, lightly sand the problem areas and reapply the topcoat.
Common Mistakes to Avoid
Not Removing Cabinet Doors and Hardware
Why it happens: It might seem like a timesaver to paint or stain cabinets with the doors and hardware in place, but it’s actually a common misstep that compromises the final look.
How to avoid it: Take the time to remove all cabinet doors, drawers, and hardware before you start. Not only will your finish be more even, but it will also prevent paint drips and missed spots.
If you've already made the mistake: If you've begun finishing with everything still attached and notice drips or uneven spots, you'll need to allow the finish to dry, remove the doors, sand down any imperfections, and start afresh.
Expert recommendation: Always label your cabinet doors and drawers as you remove them to ensure an easy re-installation. Numbering them with a piece of painter’s tape can be a lifesaver.
Skipping the Preparation
Why it happens: Many people underestimate the amount of prep work required, thinking they can jump straight into painting or staining.
How to avoid it: Clean your cabinets thoroughly with a degreaser to remove built-up grime. Sand them down to create a smooth, even surface. Ensure you've chosen the right grit sandpaper for the type of wood and finish.
If you've already made the mistake: If you notice peeling paint or bubbling, you'll need to strip the finish, clean the surfaces, and sand them properly before refinishing.
Expert recommendation: Don’t skimp on the prep. Detailing here leads to professional-looking results. Consider using a liquid deglosser for an extra-clean surface.
Using the Wrong Type of Finish
Why it happens: Choosing the wrong finish often stems from not understanding the material of your cabinets and the expected kitchen environment.
How to avoid it: Know your cabinet material. Use water-based latex for easier cleanup and a low-VOC finish in modern kitchens, or opt for oil-based paint for durability and a higher-gloss fit for classic wood cabinets.
If you've already made the mistake: If the finish is wrong, leading to chipping or wet stains, sand back and reapply the correct finish.
Expert recommendation: Consult with a paint specialist to confirm the best product for your project. Sample a small, inconspicuous area first to assess compatibility.
Ignoring Primer
Why it happens: Some DIYers skip primer in an attempt to save time and money, not realizing its importance in adhesion and durability.
How to avoid it: Always prime your cabinets, especially if switching from dark to light shades or when working with high-gloss surfaces.
If you've already made the mistake: If your cabinets show stains seeping through the paint or uneven coverage, sand down the finish, apply a suitable primer, and repaint.
Expert recommendation: Use a stain-blocking primer for the best results, particularly on previously stained wood or MDF cabinets.
Working in Poor Lighting
Why it happens: Insufficient lighting might not seem much at first but can lead to uneven coverage and missed spots.
How to avoid it: Set up ample lighting in your workspace to ensure you don’t miss any areas and your finish is evenly spread.
If you've already made the mistake: Inspect your work under good lighting. Touch up areas that are uneven or thin.
Expert recommendation: Work in daylight or utilize bright, even artificial lighting to check your work from various angles.
Rushing the Process
Why it happens: Excitement to finish can overshadow patience needed for drying and curing between steps.
How to avoid it: Allow proper drying times between coats of primer, paint, or stain. Follow the product instructions rigorously.
If you've already made the mistake: If surfaces are sticky or peeling, let them dry completely, sand imperfections, and reapply the necessary coats with given intervals.
Expert recommendation: Keep an extended timeline for your project, accounting for potential setbacks, to ensure a quality finish.
Neglecting Ventilation
Why it happens: Focusing on the task at hand, DIYers sometimes neglect proper ventilation, which is crucial for safety and finish quality. How to avoid it: Always work in a well-ventilated area. Open windows and use fans to circulate air, aiding drying and reducing fumes. If you've already made the mistake: If you've worked in poor ventilation, next time, ensure windows are open, use masks, and facilitate air movement. Expert recommendation: Invest in a respirator mask, especially if using oil-based products, to protect your health.
Final Thoughts
Refinishing kitchen cabinets can transform your space, breathing new life into your home without the hefty price tag of a full renovation. It’s all about choosing the right finish and color to match your style, as well as ensuring a quality application that will last for years. Whether you’re looking to refresh a dated look or simply adapt to changing tastes, this project can be a rewarding and impactful way to enhance your kitchen.
If you’re considering this upgrade and want to ensure flawless results, we at Pro Tile & Remodeling are here to help. As a trusted local expert serving homeowners in Greenville, SC, we’d love to assist you with every step of the refinishing process. Reach out to us for a consultation or to request a free estimate, and let’s bring your vision to life together!


